How To Set Up A Free Remote IoT VPC Using Raspberry Pi: A Comprehensive Guide
Remote IoT VPC Raspberry Pi free solutions are gaining immense popularity among tech enthusiasts and professionals alike. As more devices become interconnected through the Internet of Things (IoT), the demand for secure and scalable virtual private clouds (VPCs) has skyrocketed. This article will explore the process of setting up a free remote IoT VPC using Raspberry Pi, ensuring your devices are connected securely and efficiently.
The world of IoT has revolutionized how we interact with technology. From smart homes to industrial automation, IoT applications are becoming increasingly essential in our daily lives. However, managing these devices remotely requires robust infrastructure that guarantees both security and performance. This is where Raspberry Pi comes into play, offering a cost-effective solution for creating a remote IoT VPC without breaking the bank.
Whether you're a hobbyist looking to experiment with IoT projects or a professional seeking to deploy scalable solutions, this article will provide you with all the information you need. We'll delve into the technical aspects, best practices, and potential challenges of setting up a free remote IoT VPC using Raspberry Pi. Let's dive in!
Table of Contents
- Introduction to IoT and VPC
- Raspberry Pi Basics
- Why Choose Remote IoT VPC?
- Setting Up Your Raspberry Pi
- Installing VPC Software
- Securing Your VPC
- Connecting IoT Devices
- Troubleshooting Common Issues
- Cost Analysis and Free Options
- Conclusion
Introduction to IoT and VPC
The Internet of Things (IoT) refers to the network of physical devices embedded with sensors, software, and connectivity, enabling them to exchange data. A Virtual Private Cloud (VPC) is a secure and isolated environment within a cloud infrastructure, allowing you to manage and control your IoT devices remotely. Combining IoT with VPC provides a powerful solution for managing interconnected devices.
Remote IoT VPC Raspberry Pi free setups allow users to leverage the capabilities of Raspberry Pi as a lightweight server for hosting a VPC. This setup is ideal for small-scale projects or learning environments, offering flexibility and cost-effectiveness.
Benefits of IoT VPC Integration
- Enhanced security through isolated environments
- Scalability to accommodate growing IoT networks
- Cost-effective solution with Raspberry Pi
- Remote access to IoT devices from anywhere
Raspberry Pi Basics
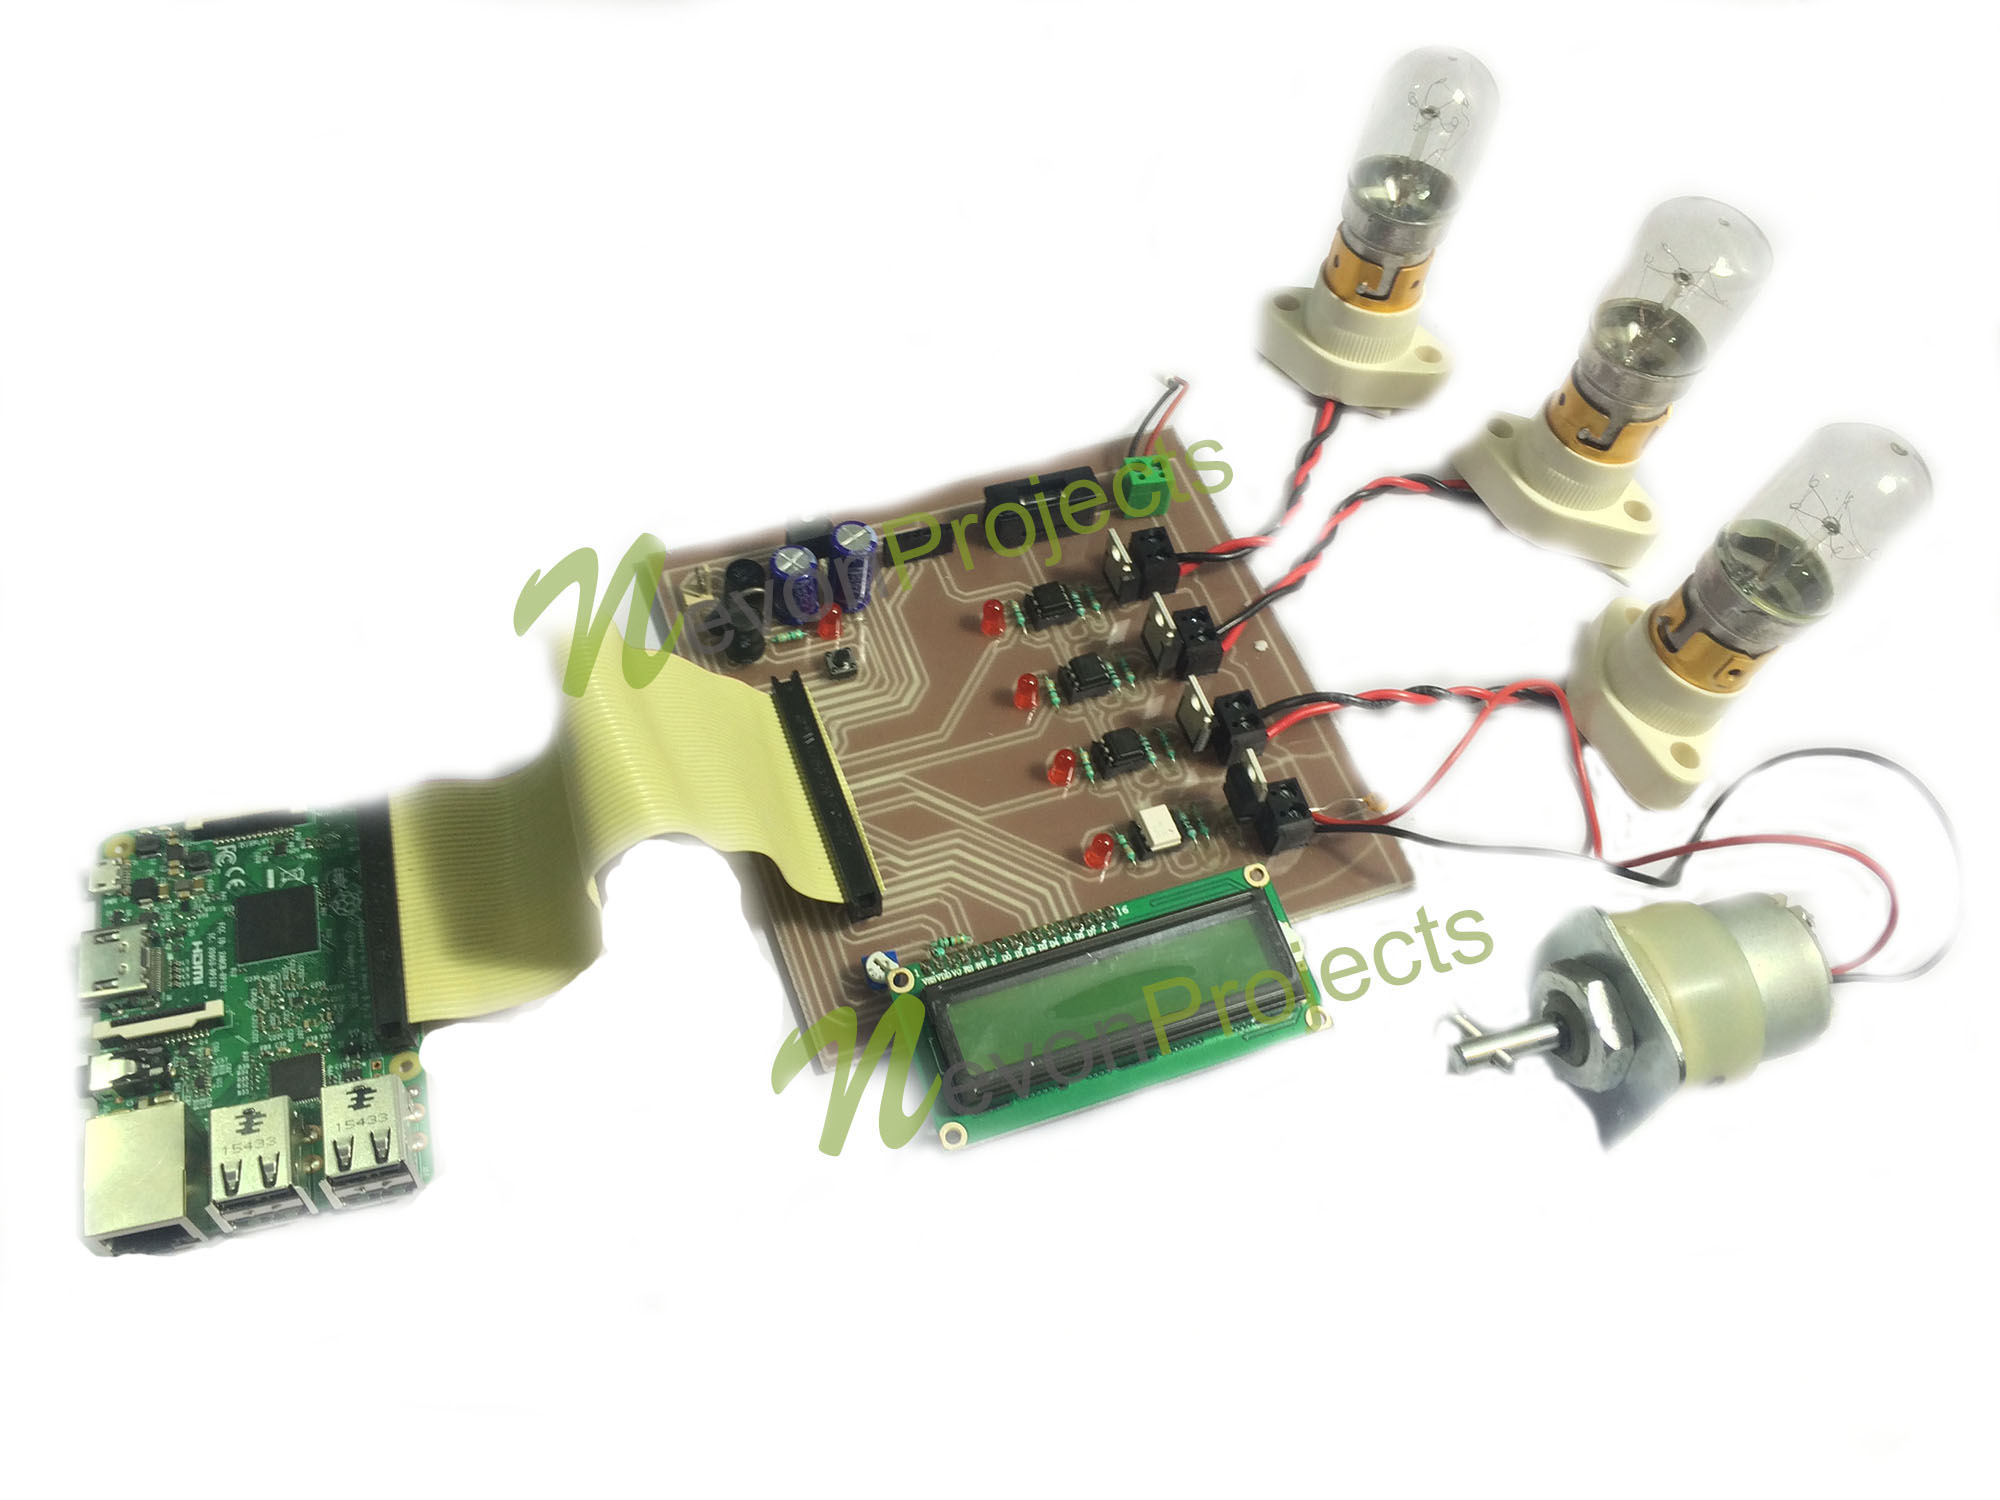
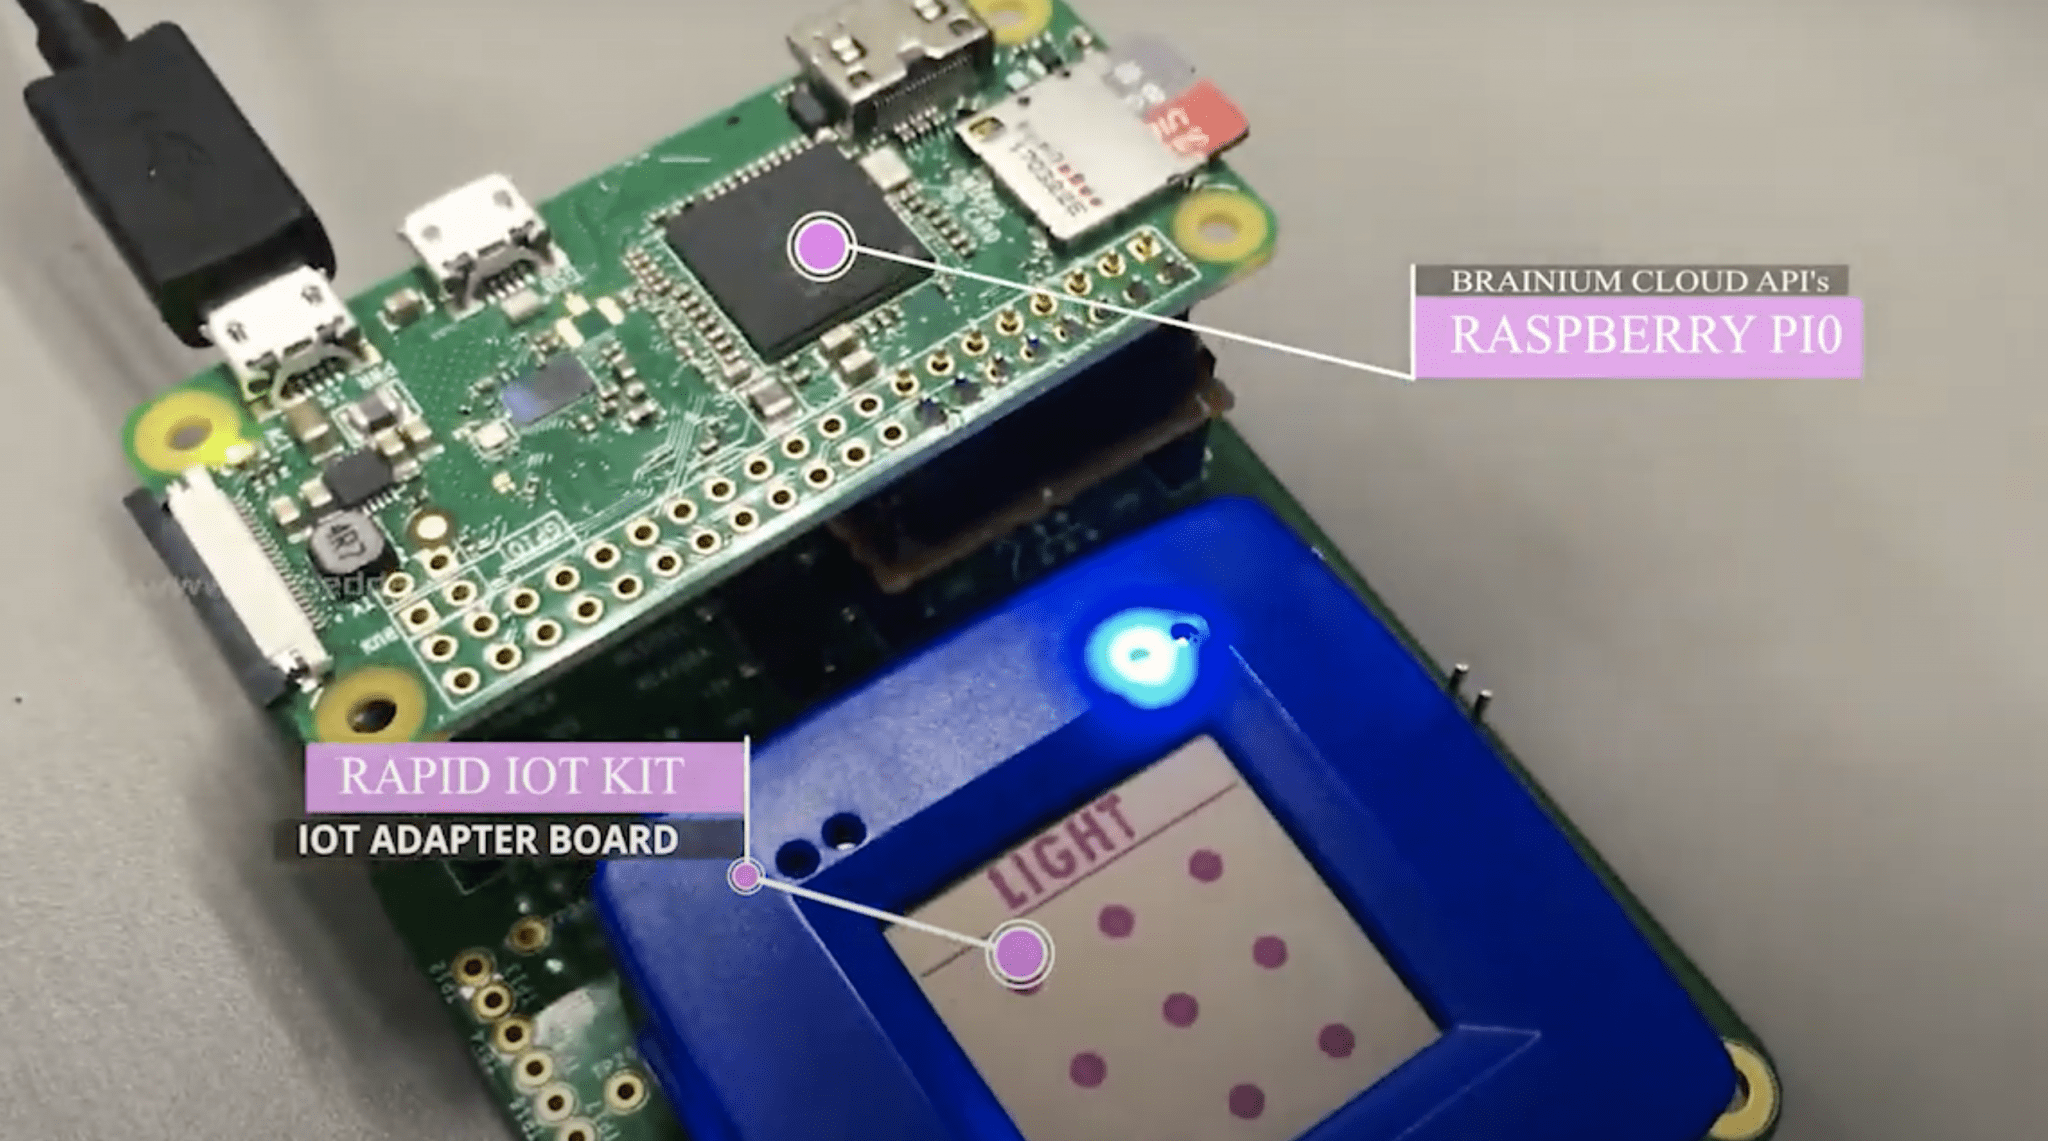
Raspberry Pi is a series of small single-board computers developed by the Raspberry Pi Foundation. These devices are highly versatile and widely used in educational, hobbyist, and professional settings. For our remote IoT VPC project, Raspberry Pi serves as the foundation for hosting the VPC environment.
Key features of Raspberry Pi include:
- Compact size and low power consumption
- Multiple GPIO pins for connecting external devices
- Support for various operating systems, including Linux-based distributions
- Cost-effective hardware solution
Choosing the Right Raspberry Pi Model
When selecting a Raspberry Pi model for your remote IoT VPC project, consider factors such as processing power, memory, and connectivity options. The Raspberry Pi 4 Model B is a popular choice due to its improved performance and support for USB 3.0 and Gigabit Ethernet.
Why Choose Remote IoT VPC?
Implementing a remote IoT VPC offers numerous advantages, particularly for managing distributed IoT networks. By hosting your VPC on a Raspberry Pi, you gain the ability to control and monitor your IoT devices from anywhere in the world. This setup ensures that your devices remain secure and accessible, even when physical access is limited.
Key reasons to choose a remote IoT VPC include:
- Centralized management of IoT devices
- Improved security through encrypted communication
- Reduced latency for real-time data processing
- Cost savings compared to traditional cloud solutions
Security Considerations
Security is paramount when setting up a remote IoT VPC. Ensure that your Raspberry Pi is configured with strong passwords, firewalls, and regular software updates to protect against unauthorized access. Additionally, use encryption protocols such as SSL/TLS to secure data transmissions between devices.
Setting Up Your Raspberry Pi
Before diving into the VPC setup, you need to prepare your Raspberry Pi for the task. Start by installing the latest version of Raspberry Pi OS, a lightweight Linux-based operating system optimized for Raspberry Pi hardware.
Follow these steps to set up your Raspberry Pi:
- Download Raspberry Pi OS from the official website
- Use a tool like BalenaEtcher to flash the OS image onto an SD card
- Insert the SD card into your Raspberry Pi and power it on
- Connect to your local network via Ethernet or Wi-Fi
- Update the system using the command
sudo apt update && sudo apt upgrade
Configuring SSH Access
SSH (Secure Shell) allows you to remotely access your Raspberry Pi from another computer. Enable SSH by creating an empty file named "ssh" on the boot partition of your SD card. Once enabled, you can connect to your Raspberry Pi using an SSH client like PuTTY or the terminal.
Installing VPC Software
With your Raspberry Pi up and running, it's time to install the necessary software for setting up your remote IoT VPC. Popular options include Docker, OpenVPN, and WireGuard, each offering unique features and benefits.
For this guide, we'll focus on using Docker to containerize our VPC services. Docker simplifies the deployment and management of applications by packaging them into isolated containers.
Installing Docker on Raspberry Pi
To install Docker on your Raspberry Pi, follow these steps:
- Run the command
curl -fsSL https://get.docker.com -o get-docker.shto download the installation script - Execute the script using
sudo sh get-docker.sh - Add your user to the Docker group with
sudo usermod -aG docker $USER - Reboot your Raspberry Pi to apply the changes
Securing Your VPC
Securing your remote IoT VPC is crucial to protect sensitive data and prevent unauthorized access. Implement the following best practices to enhance the security of your setup:
- Use strong, unique passwords for all accounts
- Enable two-factor authentication (2FA) where possible
- Regularly update your software and firmware
- Monitor network activity for suspicious behavior
Firewall Configuration
Configuring a firewall adds an extra layer of security to your VPC. Use tools like ufw (Uncomplicated Firewall) to manage incoming and outgoing traffic rules. For example, allow only SSH and HTTP/HTTPS traffic while blocking all other ports.
Connecting IoT Devices
Once your VPC is set up and secured, it's time to connect your IoT devices. Ensure that each device is configured to communicate with your Raspberry Pi over the network. Use protocols like MQTT or CoAP for lightweight and efficient data exchange.
For example, you can use Mosquitto, an open-source MQTT broker, to facilitate communication between devices. Install Mosquitto on your Raspberry Pi using the command sudo apt install mosquitto mosquitto-clients.
Device Management
Managing multiple IoT devices can be challenging. Consider using a device management platform like Home Assistant or Node-RED to streamline the process. These platforms provide user-friendly interfaces for monitoring and controlling your devices from a central location.
Troubleshooting Common Issues
Even with careful planning, issues may arise during the setup process. Below are some common problems and their solutions:
- No network connectivity: Check your Ethernet or Wi-Fi settings and ensure that your Raspberry Pi is connected to the correct network.
- SSH connection refused: Verify that SSH is enabled and that your firewall allows incoming SSH traffic.
- Device not connecting: Ensure that your IoT devices are configured correctly and that they have the necessary credentials to access the VPC.
Seeking Help
If you encounter persistent issues, consult the official Raspberry Pi forums or seek assistance from online communities like Stack Overflow. Chances are, someone else has faced a similar challenge and can offer valuable insights.
Cost Analysis and Free Options
One of the primary advantages of using Raspberry Pi for your remote IoT VPC is its affordability. Compared to commercial cloud solutions, Raspberry Pi offers a cost-effective alternative without compromising functionality.
Key cost considerations include:
- Raspberry Pi hardware: $35-$75 depending on the model
- SD card: $10-$20 for a high-quality card
- Power supply: $5-$15 for a reliable adapter
- Software: Most tools and services are available for free or at a minimal cost
Free Resources
Take advantage of free resources such as open-source software, online tutorials, and community forums to enhance your remote IoT VPC setup. These resources not only save money but also provide valuable learning opportunities.
Conclusion
Setting up a remote IoT VPC using Raspberry Pi is a cost-effective and powerful solution for managing interconnected devices. By following the steps outlined in this article, you can create a secure and scalable environment tailored to your specific needs. Remember to prioritize security and regularly update your setup to ensure optimal performance.
We encourage you to share your experiences and insights in the comments below. Whether you're a seasoned professional or a newcomer to the world of IoT, your feedback is invaluable. Additionally, explore other articles on our site for more tips and tricks to enhance your tech skills.
Article Recommendations